Adding RAM to an old macbook pro
I’ve got an old 17″ Macbook Pro from late 2008 that’s still kicking. It’s served me a lot of good years filled with studying, scripting, exams, etc. and I’ve never had a problem with it. I mostly keep it around for testing OSX related things, and as a backup. Last year I replaced the aging 512GB HDD with a 256GB SSD which did wonders to speed it up. This year the battery has finally went on it, so I ebay’d a replacement ($25) from plus_86. They’re a 3rd party battery replacement shop that ships out of Quebec. I also decided to up the RAM from 2GB to 4GB. Looking back on it, I’m wondering how I ever managed just with 2GB. I had a couple VMs running on this at one time! I ordered a 4GB kit from memoryfast, they’ve got a rebate program where I can ship them my old RAM for a small credit to my order, not bad!
I had a heck of a time replacing the memory. I’d read this before, but Apple likes to use Loctite 247 on their screws to keep them from vibrating loose. Not a bad idea, until you try to remove them for an upgrade… I bent a phillips 00 screwdriver trying to get the last one out, then ended up stripping it. I read that Apple techs have a power tool that does this, and I’m not surprised. After unsucessfully trying a soldering iron and a glue gun to heat up the screw in hopes of loosening the loctite, I ended up drilling out the last screw. I’m not sure yet if I should be upset that I had to do that, or happy that those design decisions have given me an 8 year old laptop that’s still kicking. Oh well. At least I didn’t have to pay an Apple genius to do it for me.
If you don’t have a precision screwdriver kit already, you should get one. They’re handy for laptop, mobile phone, and other small electronic repairs. I use a basic flat head and phillips kit, with some spare phillips that are slightly smaller in size. For most jobs, you’ll need the phillips triple zero, double zero, and zero sizes.

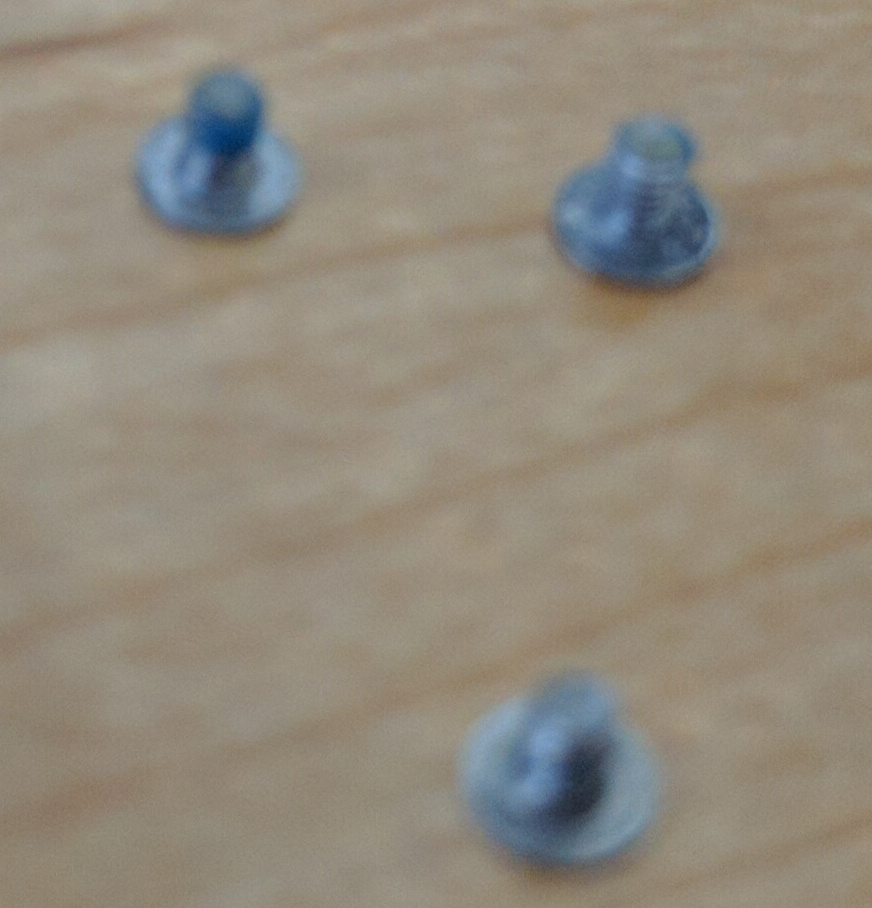
Removing the battery at the rear is easy, but as I mentioned that one screw was a pain. The picture quality isn’t the greatest, but you can see the blue loctite on the screws.

Removing the memory is easy-peasey, just push outwards on the metal clasps, and remove the DIMMs at 25 degree angle. This is a shot of them seated:

And finally, after inserting the new DIMMs, a happy laptop.
Hopefully this laptop lasts another few years. It’s safe to say it certainly doesn’t owe me anything 🙂