Home lab, CAT6 wiring, and rack
Between being busy with home renovations, and writing articles for work, I haven’t made much time for blogging this summer. Since it’s raining today and hampering my home renos, I’m finally getting to a post on the work I did wiring my house with CAT 6, and setting up a home lab rack in the basement. I realise having a rack in your house is a little ridiculous, but for those folks who like to tinker or need more resources than a desktop PC or laptop, it is incredibly useful (and affordable) to have. Like others, my home lab serves up some basic components for my home network, and also allows a testing ground that gets quite a bit of usage.
CAT6 Home Wiring:
This is a much easier project than most think. It goes a long way to offer connectivity to the various devices in your home, as well as increases your home’s market value. While I have home WiFi, its nice to be able to offer high speed bandwidth and reliability to every room in your house, and use the WiFi solely for areas that are difficult to run cable to. Moreover, its a much better WiFi experience to extend access points via wired switching than bridging antenneas. To put it candidly, I’ve never had to buffer any Netflix show off my PS3 or otherwise since running cable 🙂 .
Materials list:
I bought this all off monoprice.com via Amazon, for a total cost of about $400 CDN. I already had the tools and some experience running cable from previous employment. Having the added benefit of living in a bungalow with an undeveloped basement, I only had to traverse one floor with the cabling. But the same steps apply for additional floors and hopefully you have tiled ceiling in the basement if it’s not undeveloped. Otherwise, you’ll need to make holes and patch it up afterwards.
– Cat 6 cable roll
– Cat 6 plugs, boots, RJ45 keystone connectors
– Low-voltage mounting bracket and wall plates
– Patch panel and patch panel hinged wall mount
– Cable tester, Cable stripper, Wire cutters, RJ45 crimper/punch tool
– Drywall saw, stud finder, drywall mud and trowel, drywall sandpaper, vacuum
First, I cut holes in the upstairs drywall adjacent to the coaxial cable outlets, as I know there is existing holes drilled behind these that lead to the basement. I piggy backed on these same holes, and made a couple new ones where I needed room. Hint, if you cut the drywall on a 45 degree angle facing inward to the wall (as opposed to 90 degrees) it makes it easier to set the drywall and mud back over it when you’re done. This allows the piece you cut out to sit back in the hole without falling in or forward.

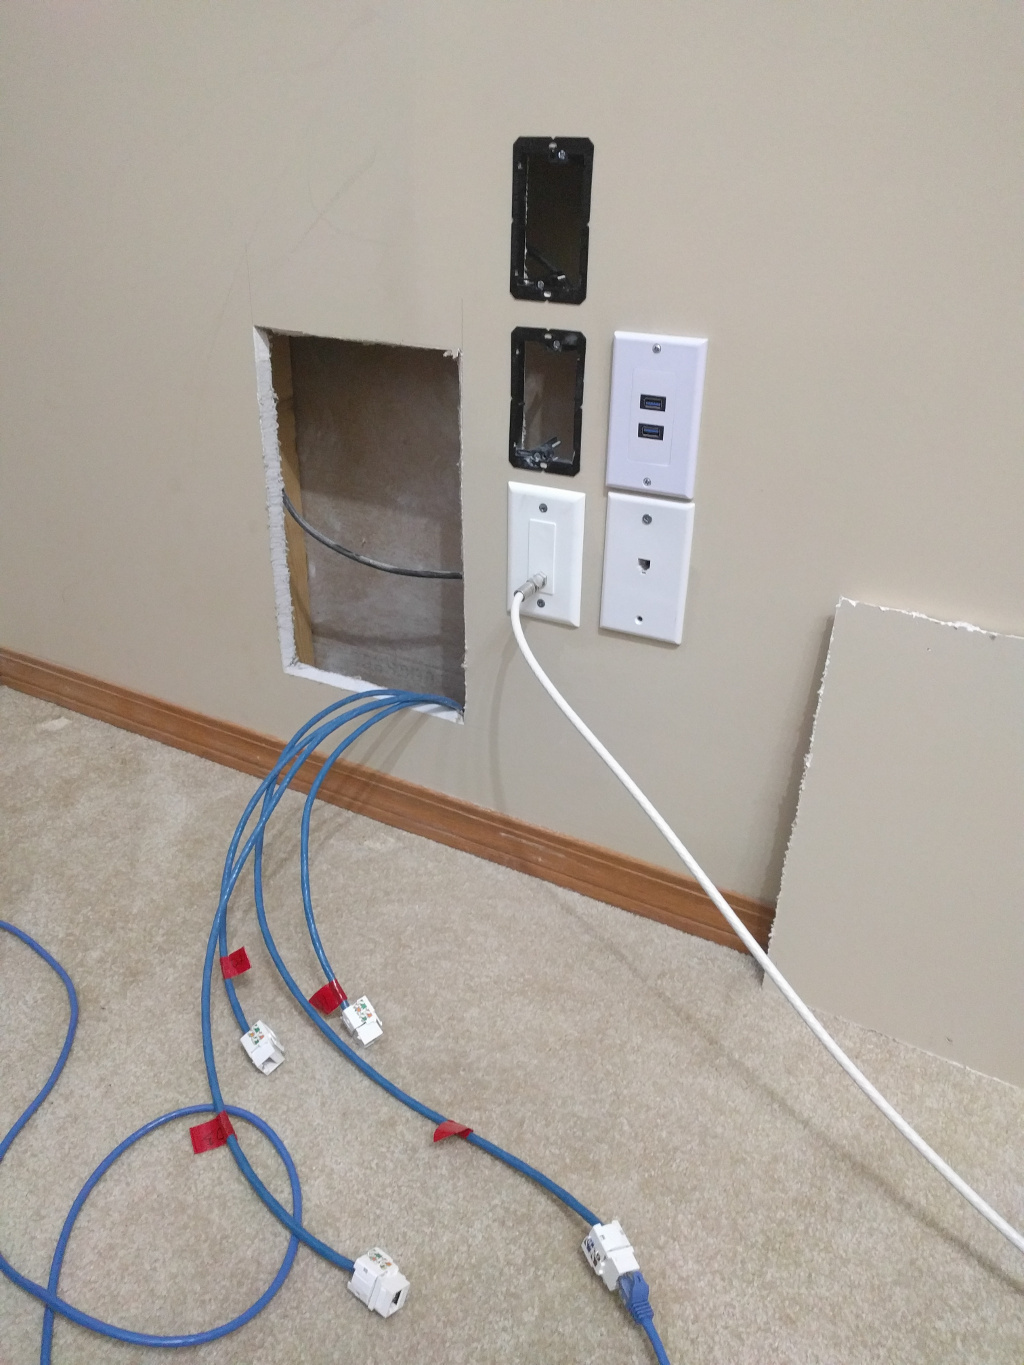
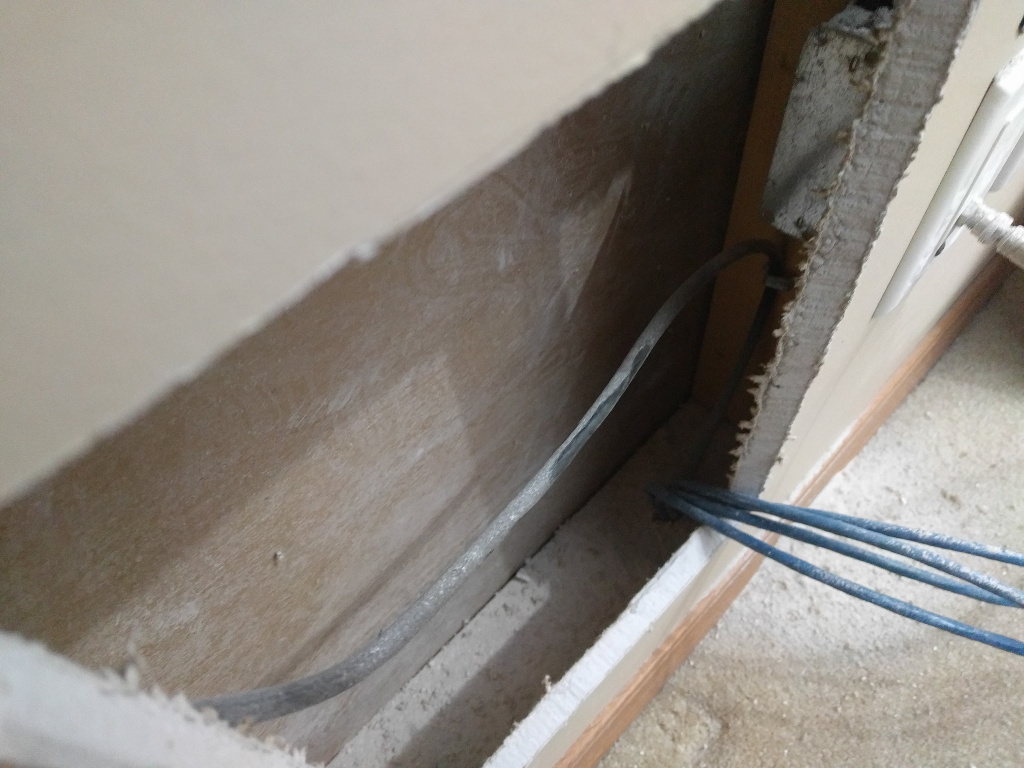

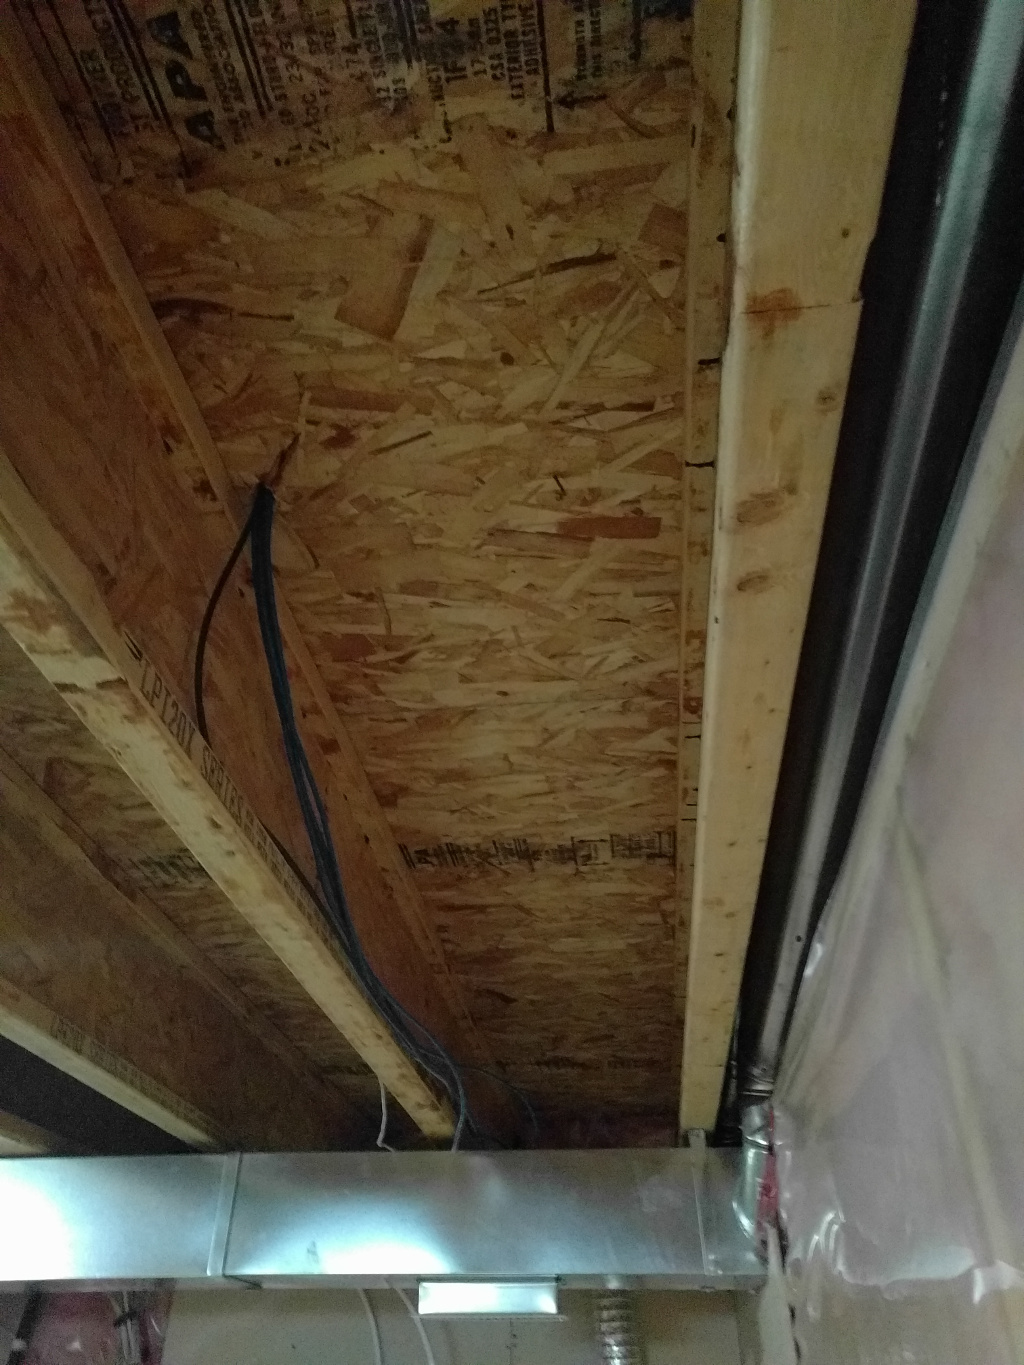
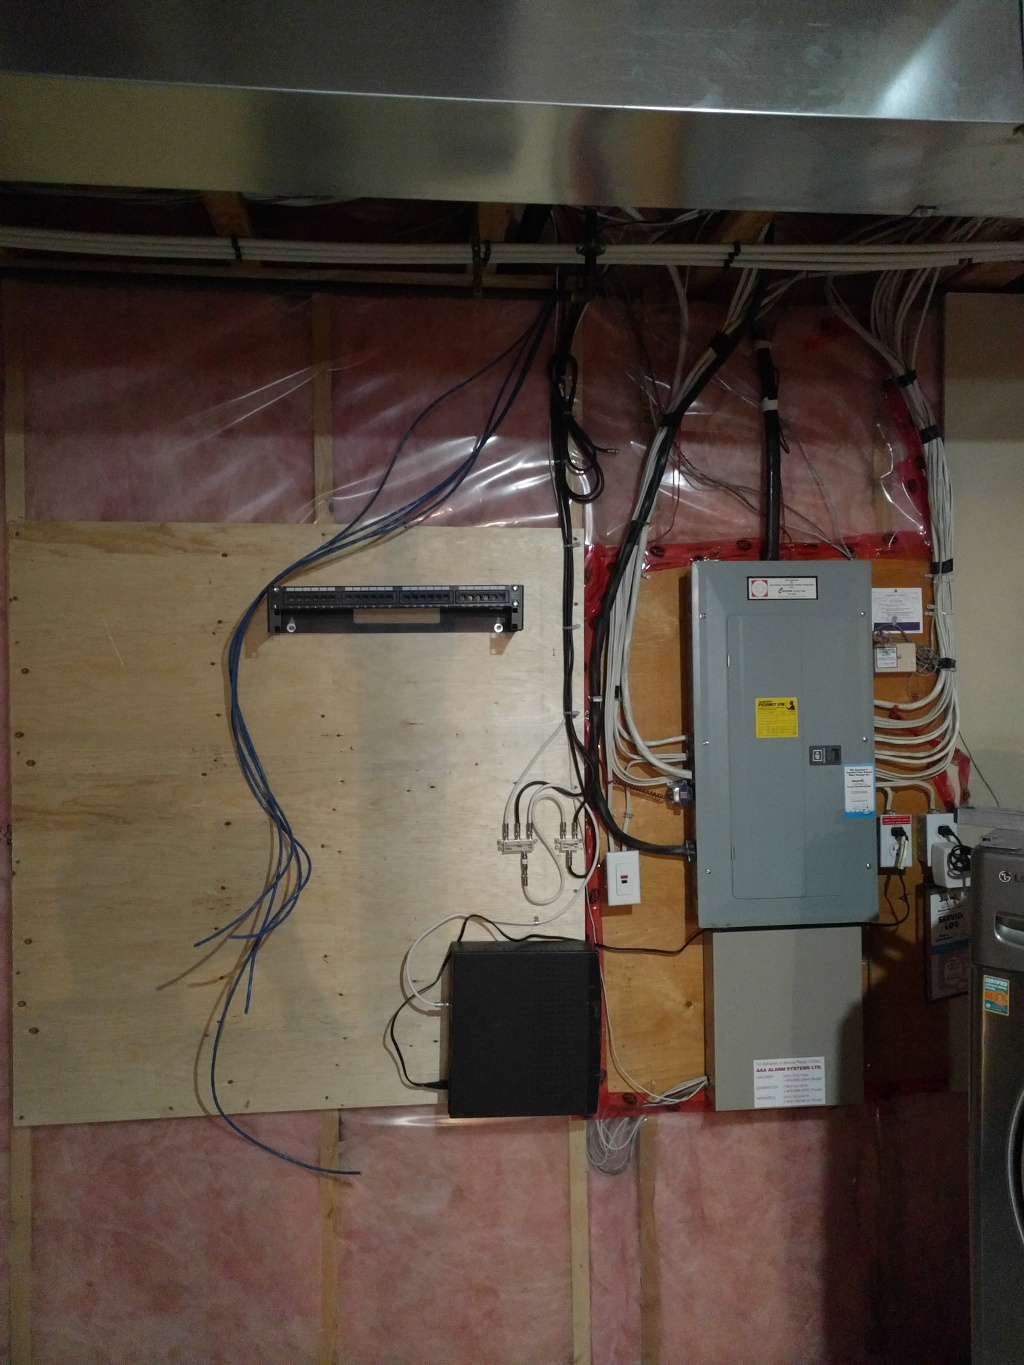

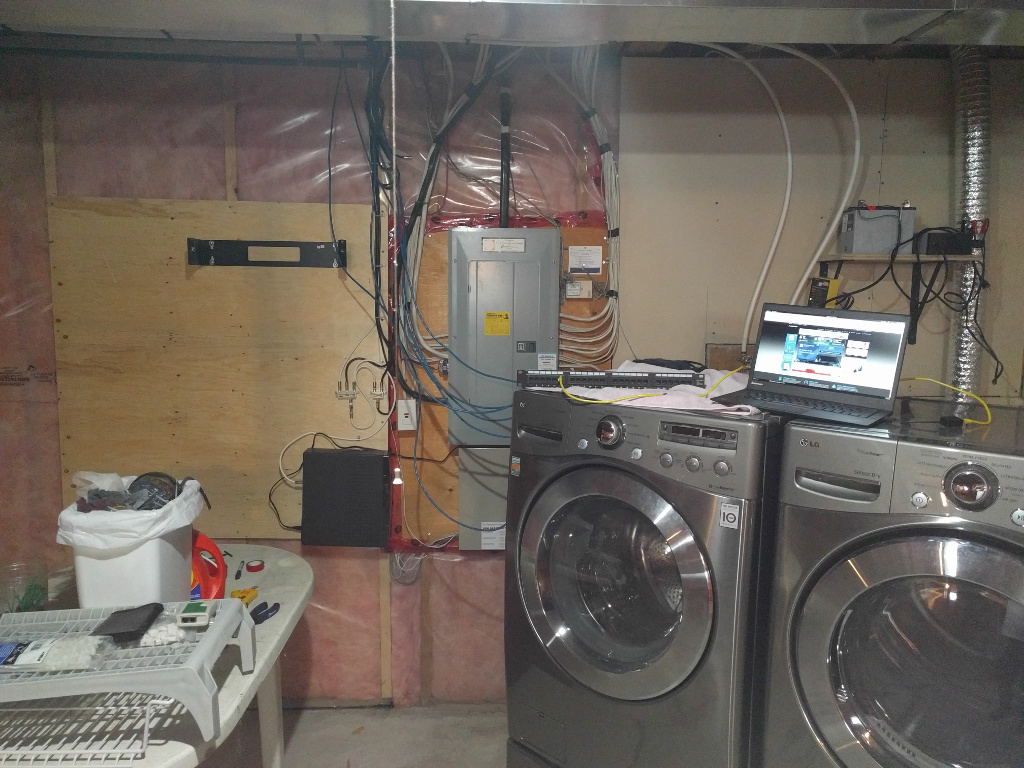
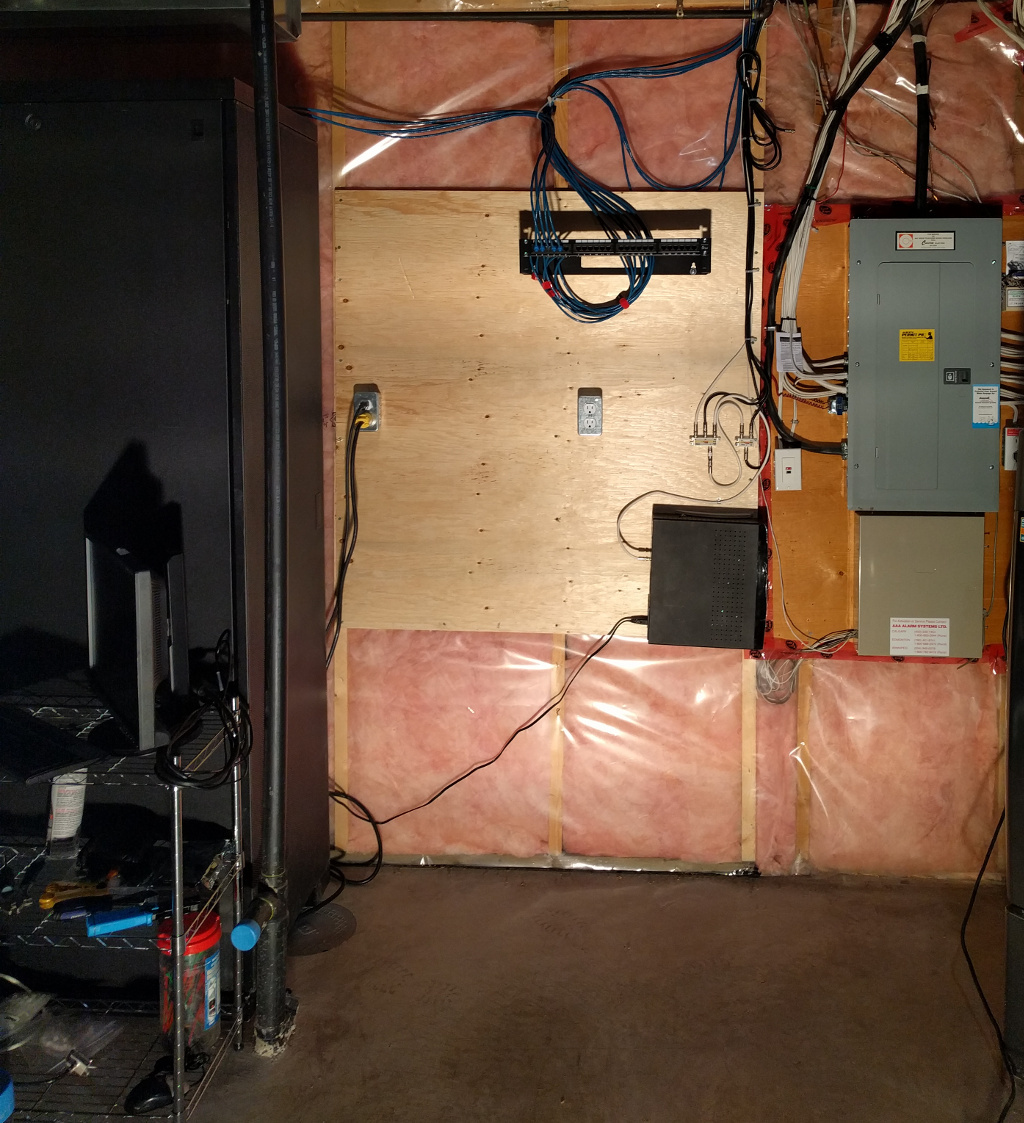
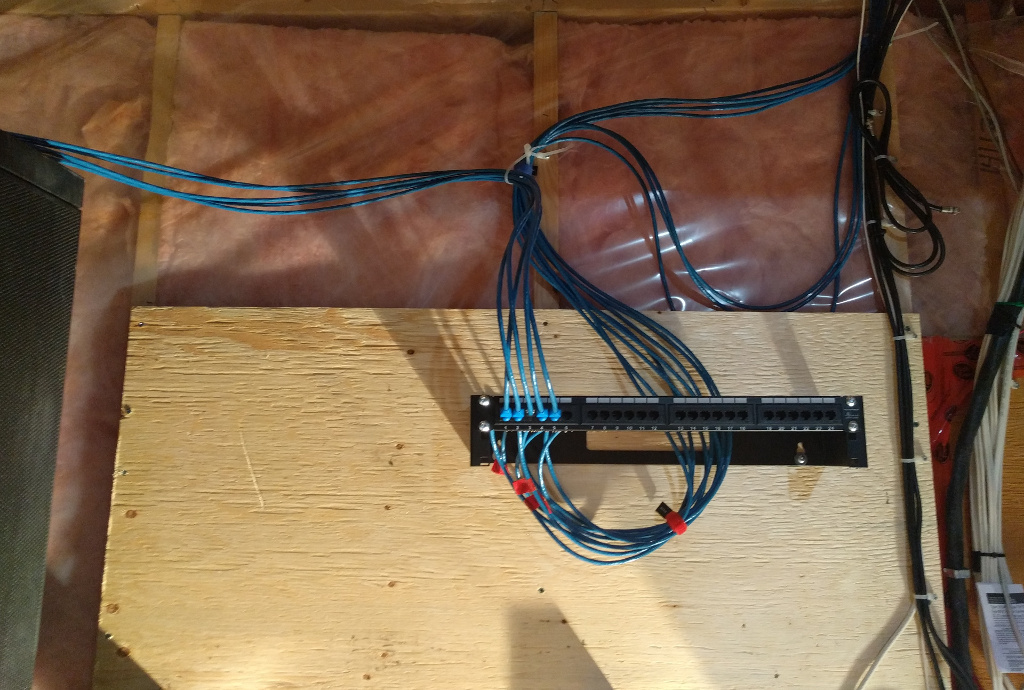
The cable runs follow the other low-voltage cable (coaxial/RJ11) and terminate near the electrical panel where I’ve added another wood backing. This gave me extra space to mount the patch panels, relocate other cabling, and have an electrician mount additional circuits that are used for the rack.
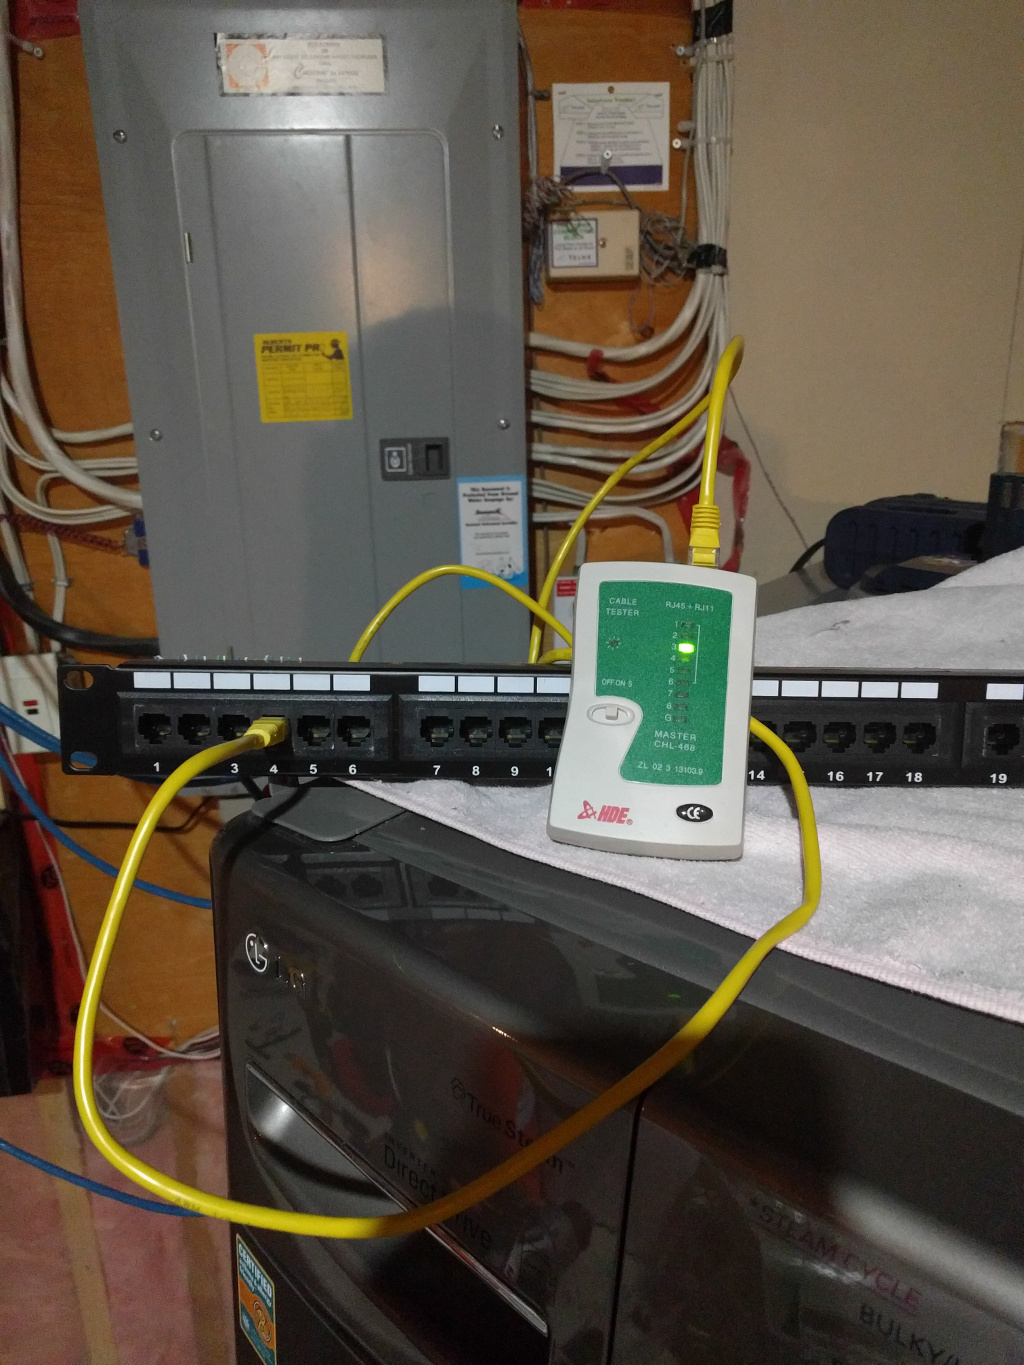

After running the cable, I used the punchdown tool to place the cable in the back of the patch port as well as at the other end in the keystone connector jack. There’s color coding in both to make it easy, but generally you should use Type B termination everywhere. With cables punched down, I tested the circuits with the cable tester to confirm termination, and confirmed I could grab an IP address from a router and did a bandwidth test.
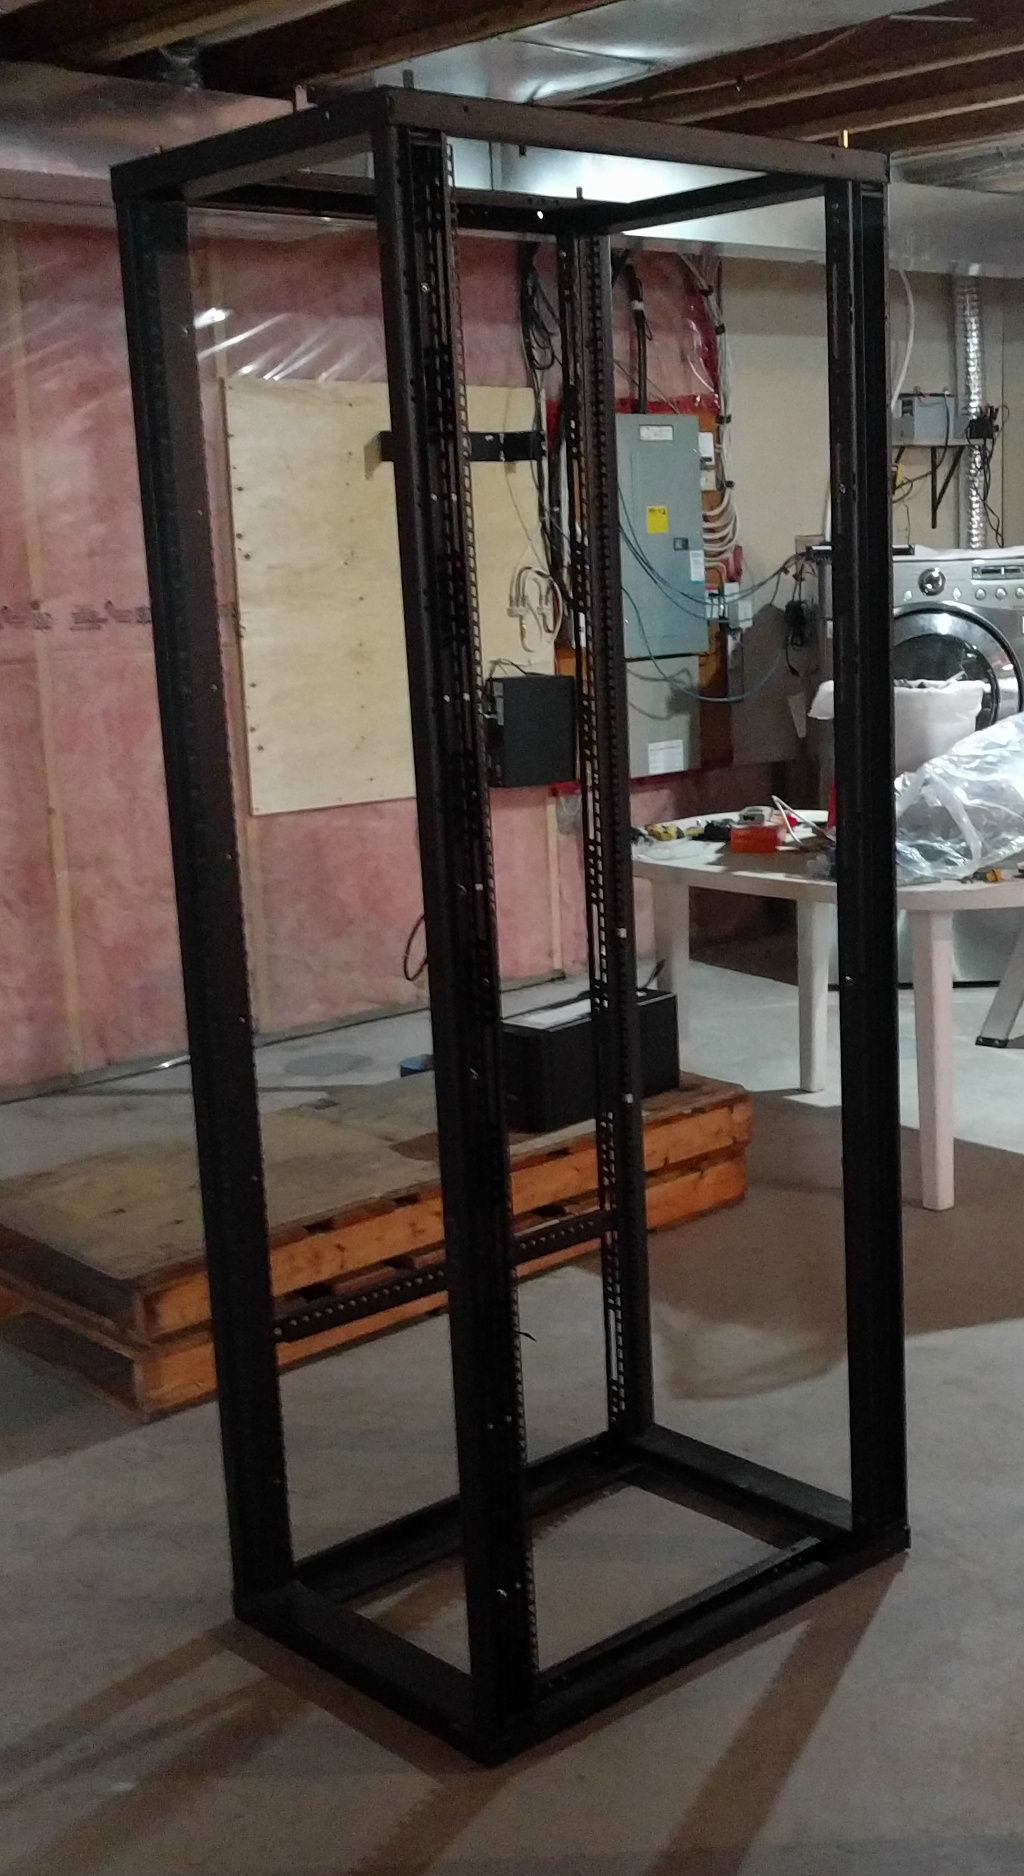

Next came assembling the used rack found off the local classifieds, racking the gear, and making cable from the patch panel to the rack. Generally tried to keep things as tidy as possible for cabling.


Overall, I spent a couple of weekends completing the project, and currently have 8/24 cable runs populated. This covers my office, living room, and bedroom. Next up is patching in the kitchen, and the ceiling for an AP mount. In the rack I have:
– 2 Dell PowerConnect switches (1x 48 port, 1x 24 port, just the 48 port shown.)
– HP Z800, 2x Intel Xeon X5570, 16 core , 96 GB RAM, 3x 256 GB SSD in RAID0, 2x 2TB HDD in RAID1.
– Triplite 1.5 KW UPS, and APC 1.0 KW UPS.
– Tower PC, 1x Intel i7-2600K, 8 core , 32 GB RAM, 1x 256 GB SSD, 4x 1TB HDD in RAID5.
– HP DL360 G7, 2x Intel Xeon E5640, 24 core, 144 GB RAM, 3x 500 GB SSD in RAID0.
The cable modem and Mikrotik CRS125-24G-1S-2HnD-IN router sit upstairs in my office as they’re silent, and are trunked into the ToR switch. My workstation in the office upstairs is a Tower PC, 1x Intel i7-5930K, 12 core, 64 GB RAM, 1x 256 GB SSD M.2 NVMe, 5x 500 GB SSD in RAID5 with a boat load of screen real estate. 🙂 . The rack gear is all KVM hypervisors hosting a handful of VMs for DNS cache, grafana, monitoring, and a whack of OpenStack reproducing environments from Juno to Ocata.
