Retro gaming with RetroPie
I’ve been using a raspberry pi for some occasional tinkering, but have finally found it a more permanent home. I recently got an itch to play some old console games and thought I’d build a RetroPie. I had all the hardware I needed, but in case you don’t there are kits available that include everything one needs to get a retro gaming system going. These are a great option to get started.
With how easy these are to build, I don’t think I’d consider the classic NES or classic SNES products that have recently been released. I like being able to customize the platform, and it’s really easy to combine NES/SNES/N64 and other emulators in the same piece of hardware, thereby cutting down how many systems you need to buy and HDMI ports required of your TV. I can also easily add new games to the system, and would rather donate money to the RetroPie project over buying others’ hardware. So this is exactly what I did!
Once you have the hardware (raspberry pi, pi power cable, microsd card, USB stick, HDMI cable), everything you need to get started is on the RetroPie wiki. After copying the retropie image to the sd card, I was able to boot into retropie and use the USB stick to start copying my ROMs over. As soon as you copy ROMs into their respective emulator folder, the emulator will show the SNES/NES option for selection. I opted to load my pi with some NES/SNES classics I still have in a box in the basement.
The raspberry pi ecosystem is quite large, so unsurprisingly I was able to find a really cool SNES case for my pi:
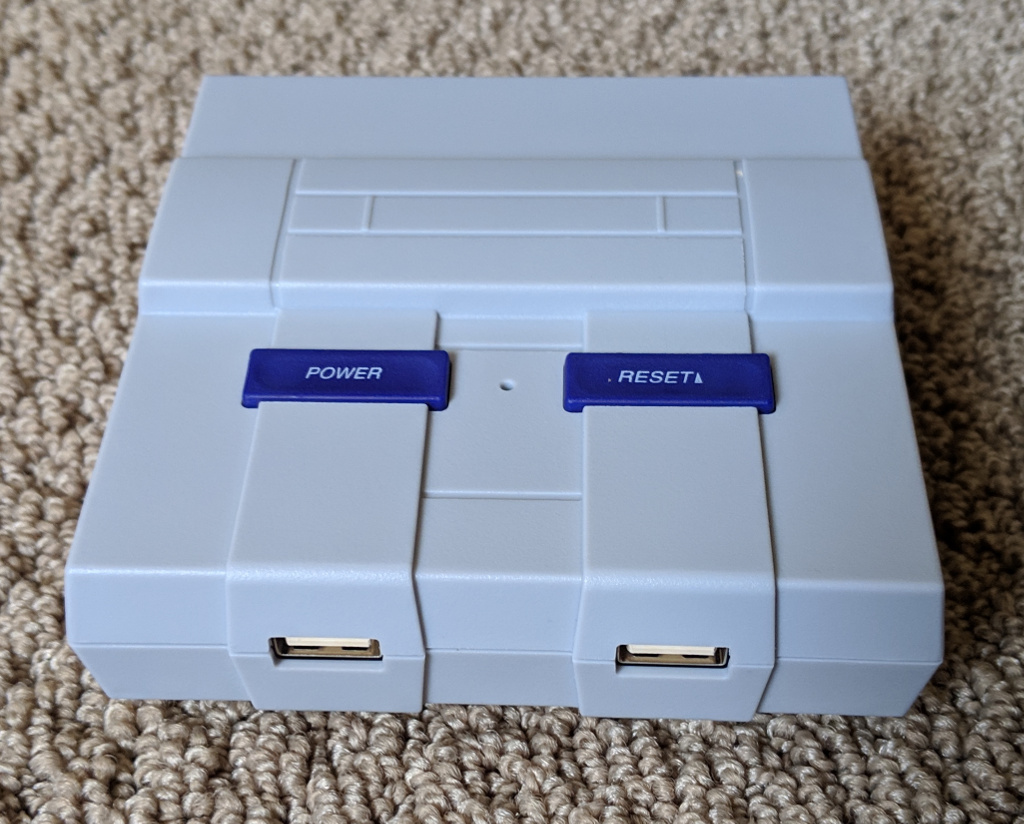
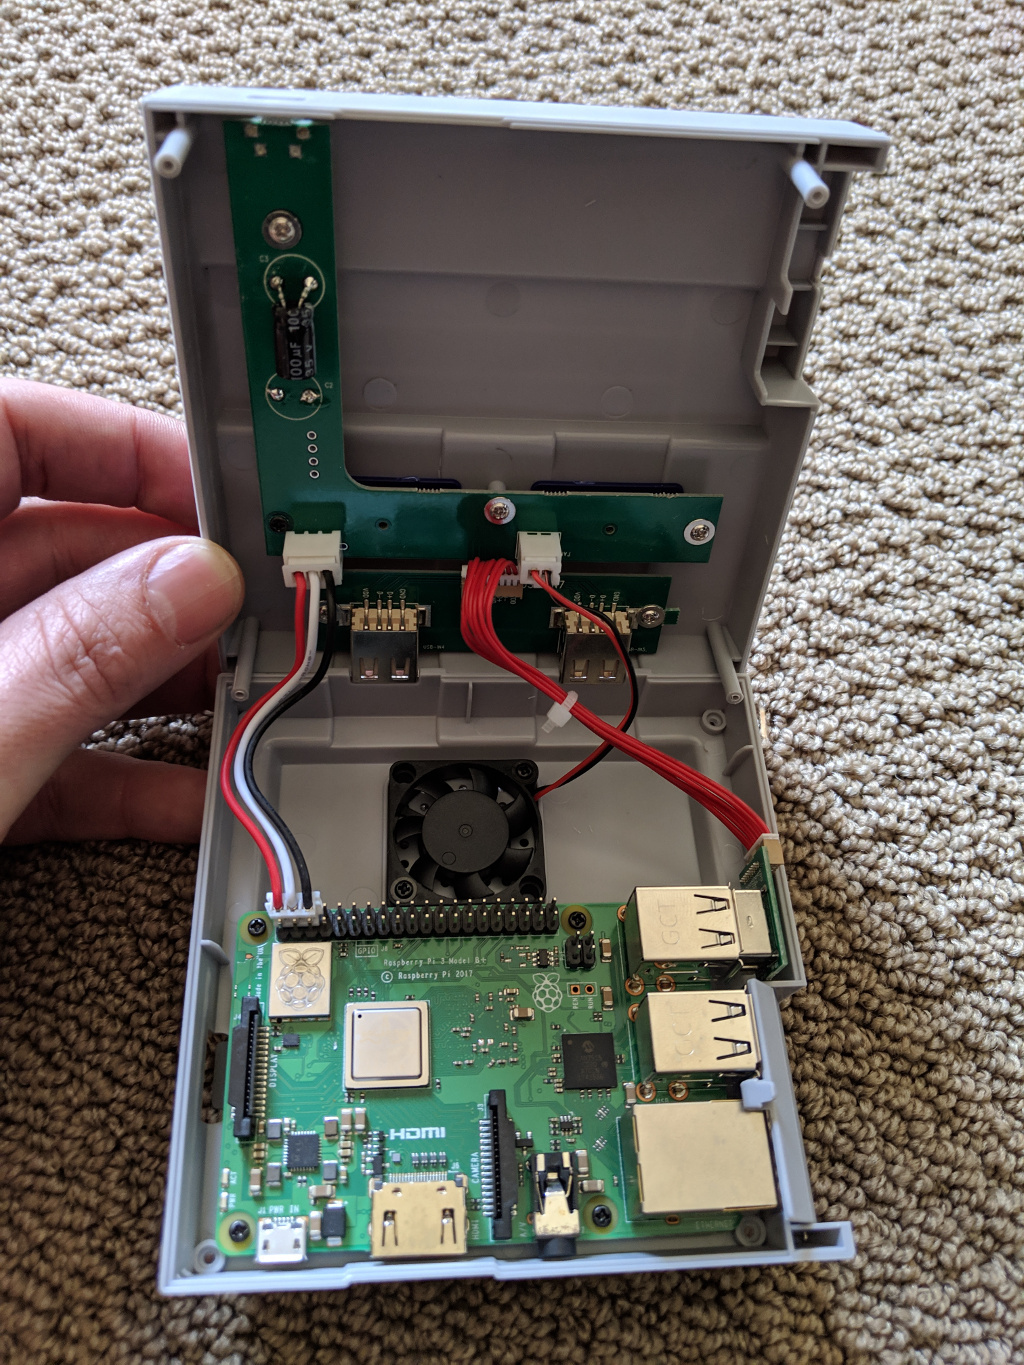
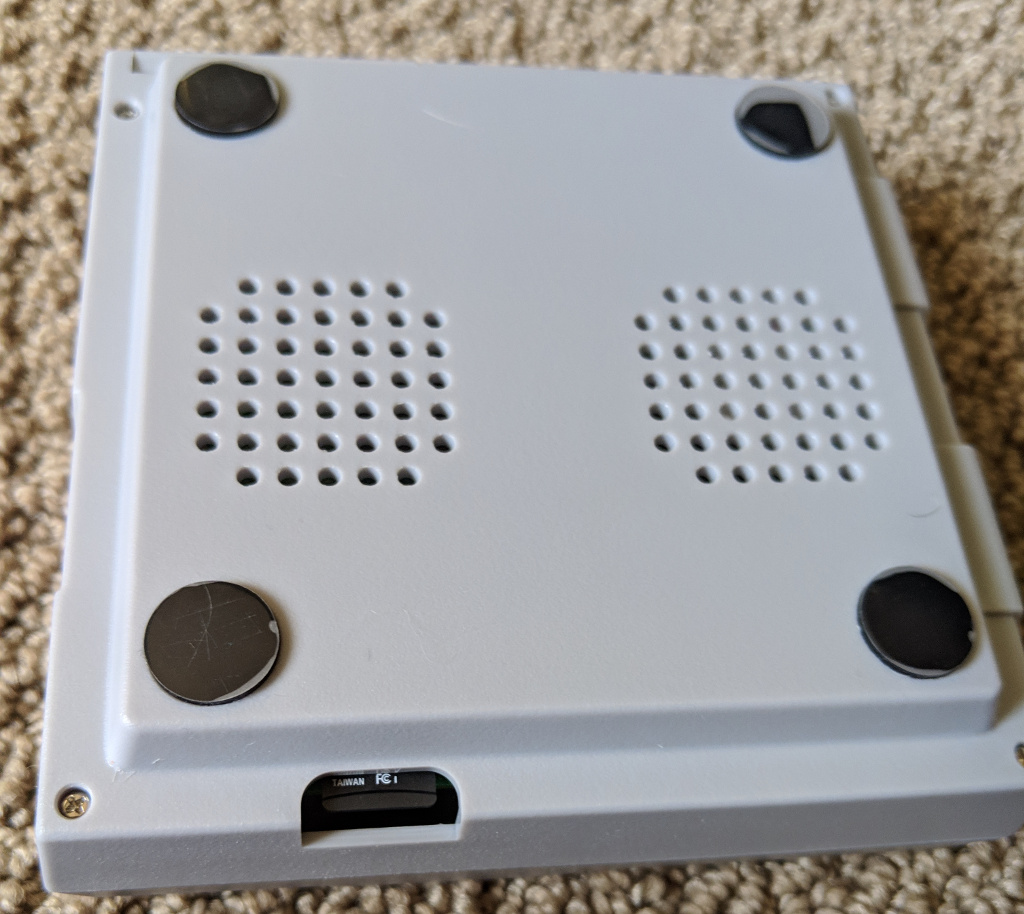
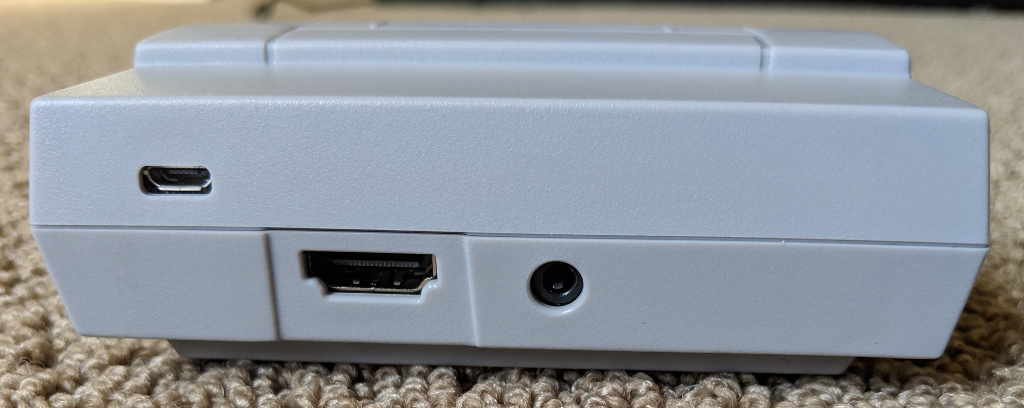
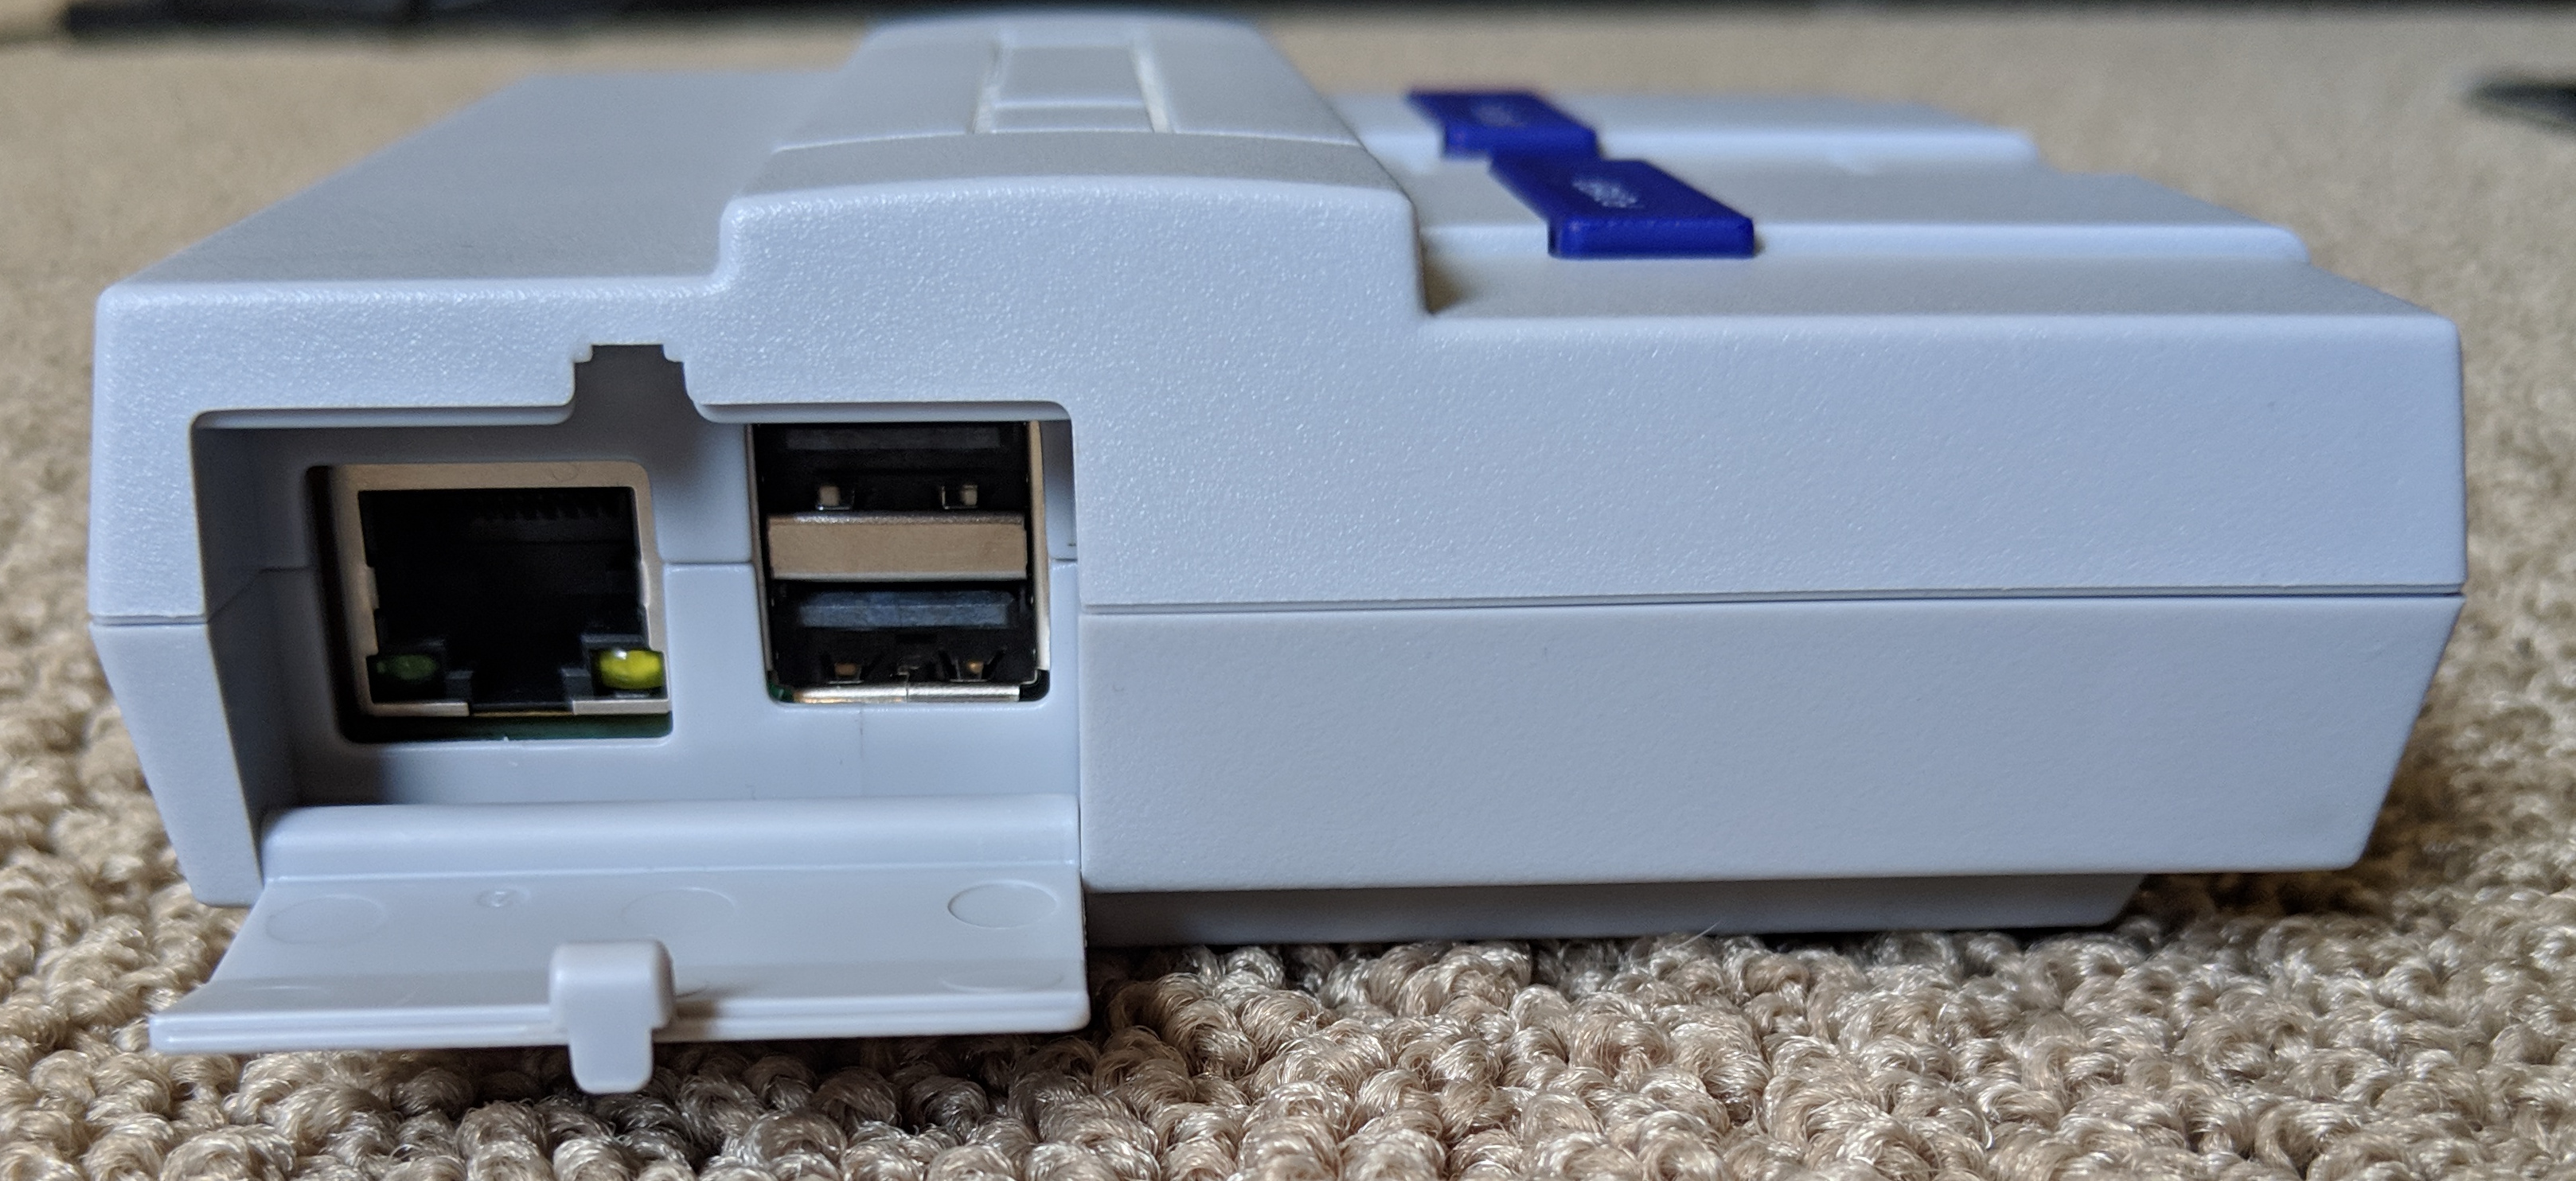
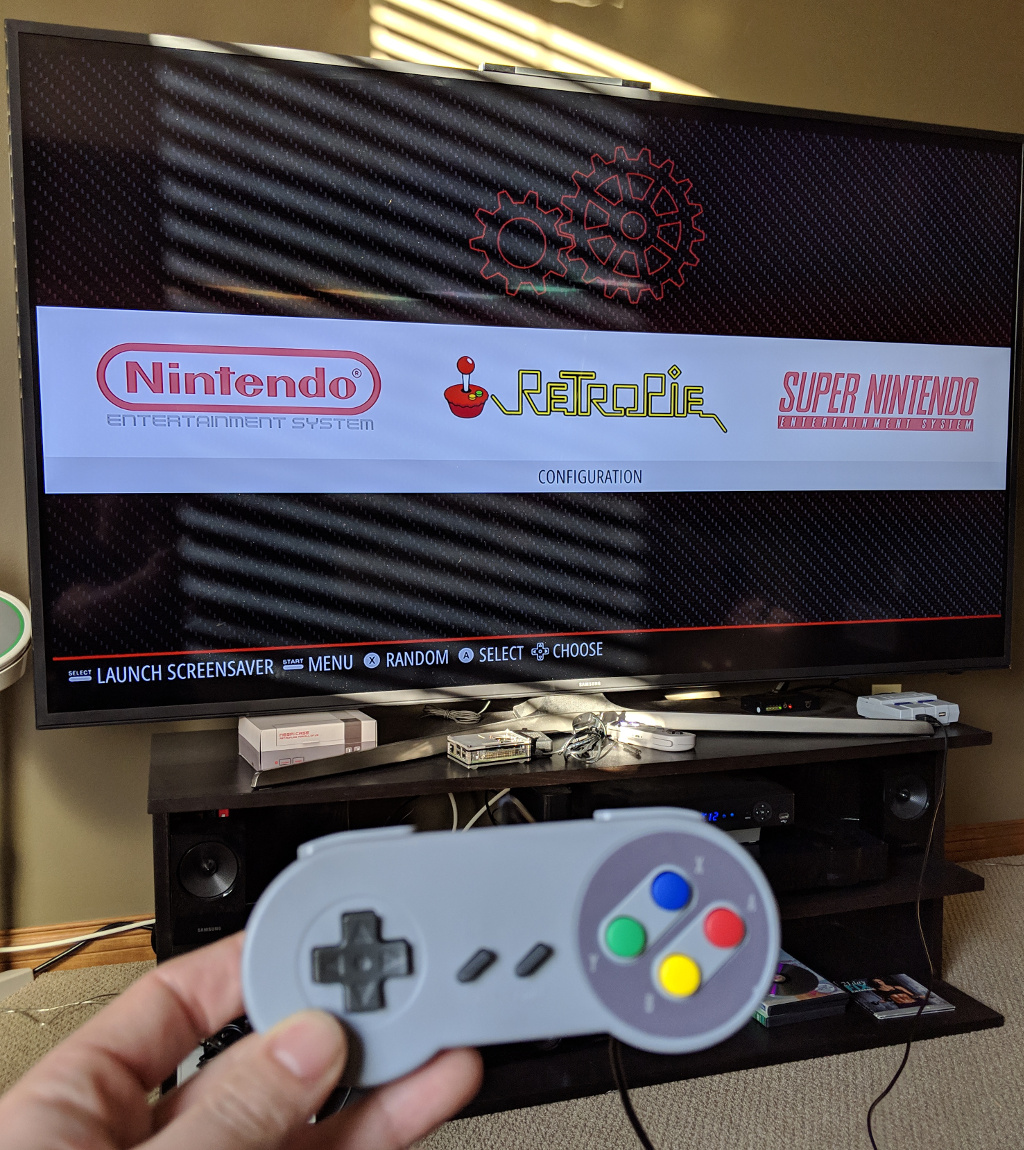
It relocates the power to functional on/off and reset buttons on the top of the case like the classic SNES, and also includes some cooling, and easy access to ports and storage. With a couple of USB SNES gaming pads for $8 off Amazon, and about an hour’s worth of assembly and install – I was up and running:
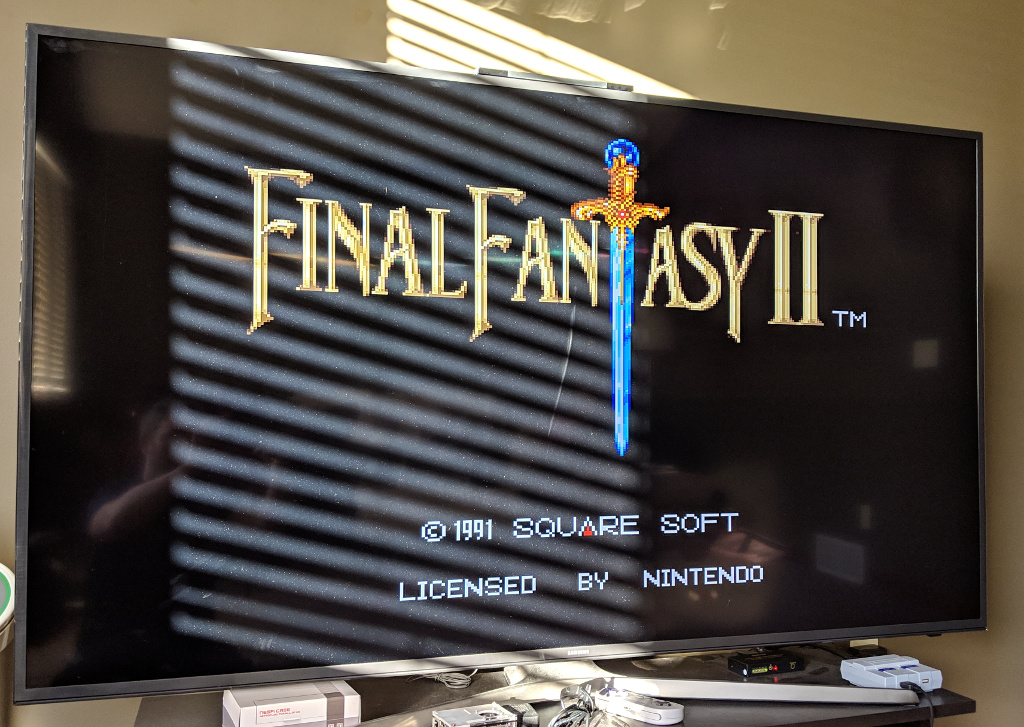
Very cool!